
After months of intermittent posts and a short hiatus, we’re back baby! If you notice a drastic improvement in my writing skills this week, it’s because Mrs. AlbuKirky is going to be a regular contributor to the weekly blog. Every week we team up in the kitchen to cook our world renown Sunday Dinners, so it only makes sense that we collaborate on the blog, as well.
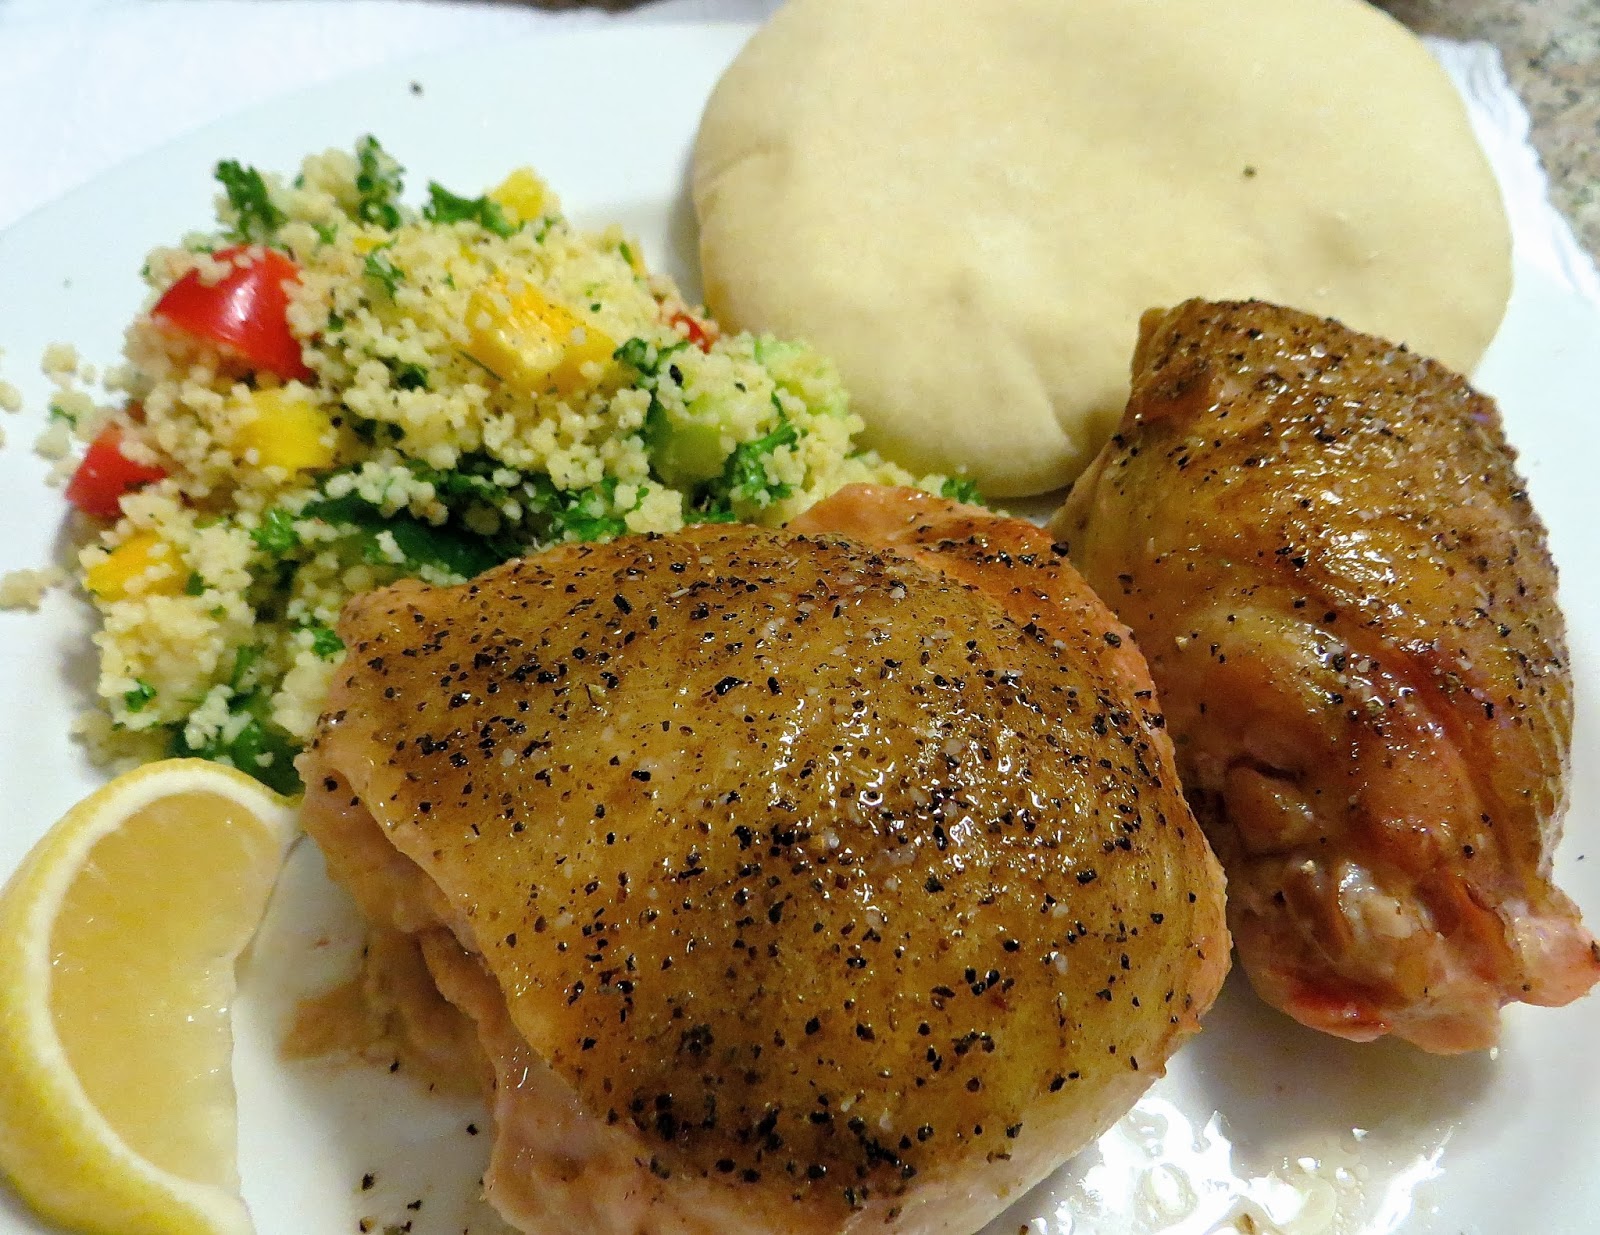 |
| A Greek Inspired Sunday Dinner: Lemon Chicken, Couscous Salad and Homemade Pitas. |
Our latest Sunday Dinner culinary adventure was inspired by Greek mythology. Would it be a tragedy or a comedy? Okay, maybe that’s a stretch, but the meal did have a few Mediterranean roots. Lemon Chicken was the star of the show, supported by a fresh performance from a Couscous salad and a surprise newcomer to the act…a homemade pita, hot out of the oven. This delightful bread-ish morsel almost stole the show.

Of course, I was in charge of the chicken. I started with a package of thighs and breasts, both bone in and skin on. I placed the chicken in a foil baking pan then poured lemon juice over the chicken, filling the pan about 1/3 full. Next, I seasoned the chicken with Cavender’s Greek Seasoning, and Lemon Pepper, and then topped each piece of chicken with a pat of butter or two. I cooked the chicken in the Big Green Egg at 375-400º over indirect heat for 45 minutes or until the internal temperature of the chicken read 160º.
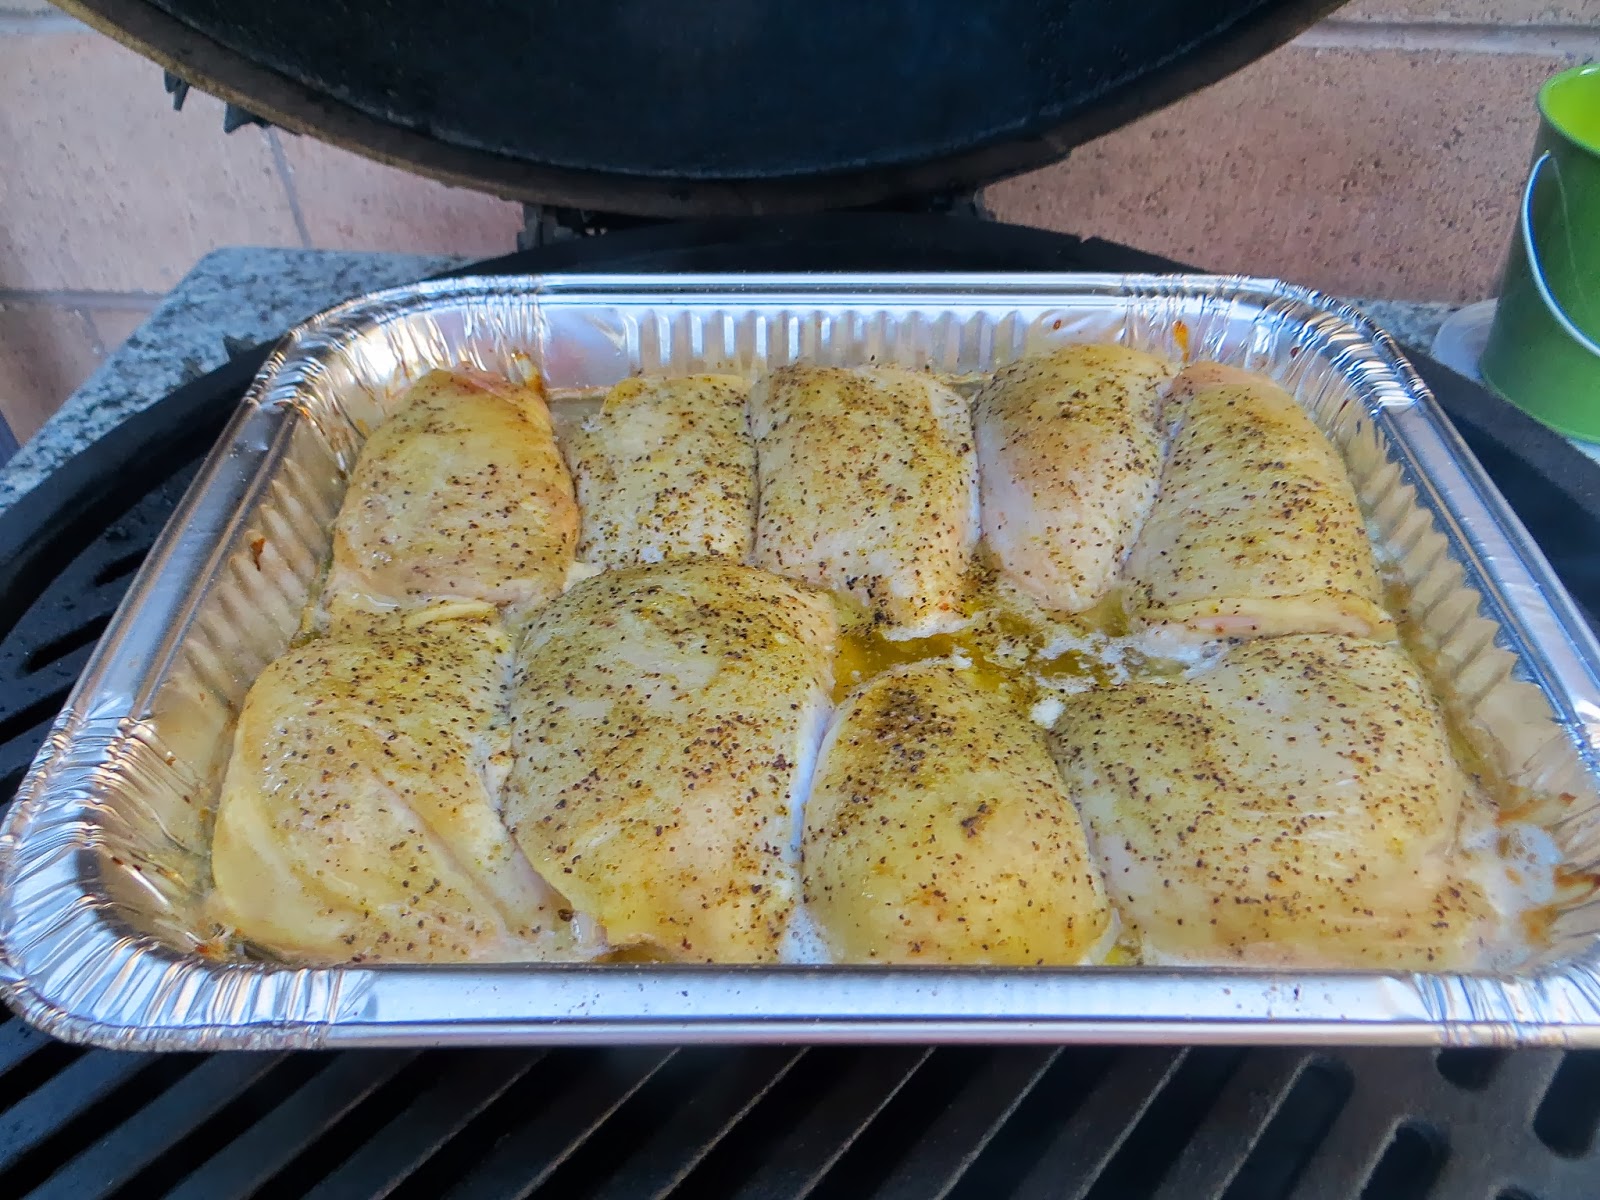 |
| Greek Lemon Chicken Smoking on the Big Green Egg |
Cheryl here. Shhhh, don’t tell anyone, but I’m having an affair. Yep, it’s true…I’m in love with…carbohydrates, particularly the bready ones. A dirty little secret for sure, but I can’t help myself. That crazy combo of flour, salt, sugar, and yeast, dances on my tongue and wraps its arms around my tastebuds like a warm hug and I am over the moon! Lately, this nasty obsession has me compulsively baking up a storm and trying new things. I have a handful of “go-to” bread recipes that never let me down, but this week I decided it was time to expand my repertoire.
I don’t know about you, but I have never purchased a tasty pita from a grocery store. They are often dense, tough, stale, and possess all the glorious flavor of a cardboard box. YUCK! There had to be a better way. Why not make my own? After a bit of recipe reconnoissance via the Internet, I came upon a gem. It sounded easy and the comments indicated it was authentic. I decided to give it a go. Here’s a direct link to the recipe. Instructions are great and the process pics help, too. I’ll give you a quick rundown of the steps and ingredients I used following these photos. The original recipe provides some substitutions and lots of info on pita making if you want to take a look. In fact, I insist that you do.
 |
| Should have taken more (and better) process pics. Sorry about that. Pitas rolled out and ready for their “odyssey” into the oven. |
 |
| Puffy and hot! And so damn good! |
Pita Bread
3 cups all-purpose flour
1 1/2 teaspoons salt
I tablespoon sugar
1 packet instant yeast
1 1/4 to 1 1/2 cups warm water (not too hot)
2 tablespoons olive oil
In the bowl of a stand mixer, add the flour, yeast, sugar, and salt. Add 1 1/4 cups of water and the olive oil. Add up to 1/4 cup more water if the dough appears to be dry. Mix on low speed with the hook attachment for 10 minutes.
Turn out the dough into a large glass bowl that has been lightly coated in oil. The dough will be slightly sticky, but roughly form it into a ball and roll it around in the oil. Cover with plastic wrap, top with a dish towel, and sit it in a warm place to rise until it has doubled in size. Approx. 90 minutes.
Once the dough has doubled in size, punch it down and divide it into 8 pieces. Roll each piece into a ball and set them on a baking sheet to rest for 20 minutes. Cover with a damp kitchen towel. While the dough is resting, place a baking stone in your oven and preheat to 400º.
After 20 minutes, lightly flour a clean surface. Place a ball of dough on it, lightly sprinkle a bit of flour on top and roll it out in a circle. It should be about 1/8″ inch thick.
Once all 8 pieces have been rolled out, working quickly as possible so that the temp stays constant, place 2 of the rounds onto the baking stone in the oven. Bake for 3 minutes. Dough will puff creating a wonderful pocket perfect for stuffing. Even if your pita doesn’t form a pocket, it will still taste delicious.
That’s all folks…super simple! There is no need to ever buy another tasteless super market bread frisbee again! I made them twice in one week and now I’m sitting here wishing I had one handy to nibble on while I type this.
One last note, I’m as verbose as Kirk is terse, so this collaborative blogging experiment should be VERY interesting. See ya next week!

Fun post! We're going to have to try this dinner at home with our AlbuKirky seasonings!
Those look yummy! Can't wait to see your recipes too Cheryl!
Nice job Cheryl (oh, you too Kirk). I enjoyed reading the two person post.
Some of the most fun reviews we've done were a he-said, she-said type.
Keep it up!
Great post, guys! I am saving this because I have never made my own pitas but now I HAVE to. These look great, it's making me crave gyros.